Roof and Trusses

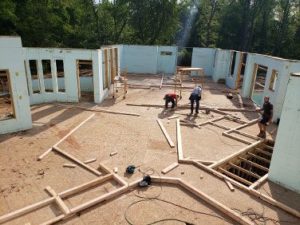
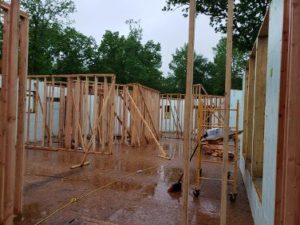
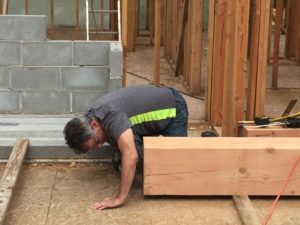
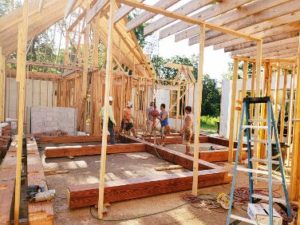
So now that the house was framed, the framers began to work on the roof.
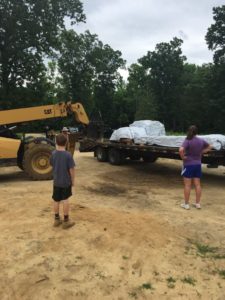
The trusses came on a big trailer from Tennessee.


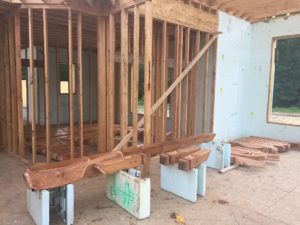
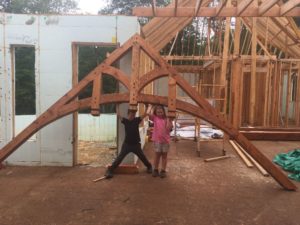
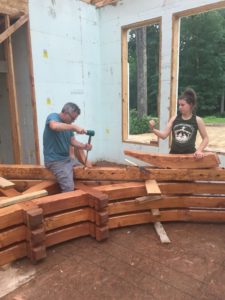
We had to get the roof trusses ready for installation. We sanded, conditioned, stained and sealed all of the pieces, then put them together.


Putting them together was like putting together a puzzle.

 
Once they were finished, they were beautiful.
 
So as we finished each truss, we stacked them up until they were all done.
 
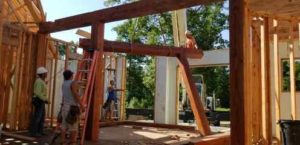
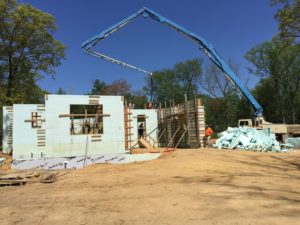
Then Dan and the framers installed them all.  We hired a crane and an operator
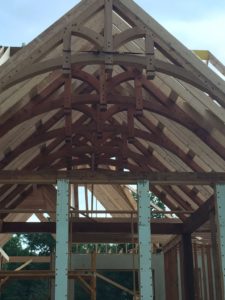
to lift the trusses up to the framers. Once they were in place, the framers installed them.  Dan was on the ground guiding and directing the crane operator.  This whole process took about 4 hours. Once they were finished, the cathedral ceiling was complete.
 
 
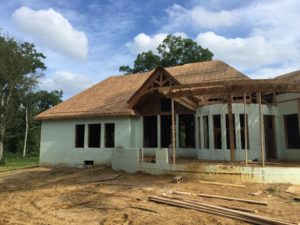
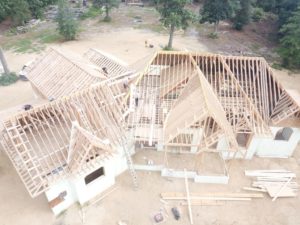
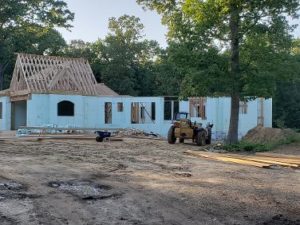
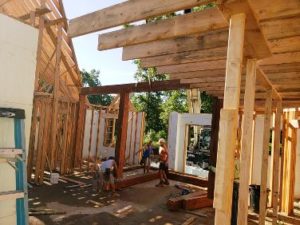
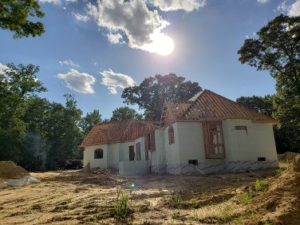
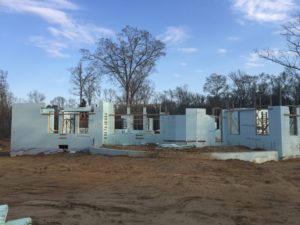
This is the view from the back of the house once the trusses were installed.
 
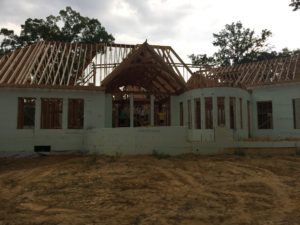
Now once the trusses were installed, the roofers could finish the roof.
 
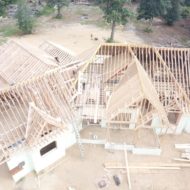
This is the view from the drone.
 
 
So now the roofers could install the plywood sheathing on the roof.
 
After that, they put the ice and water shield along the bottom 3 feet of the roof. Then the roofers could finally start shingles.
 
That was exciting to watch because it was a big job that was getting totally finished. Or so we thought. They took FOREVER. They wouldn’t return our phone calls, they stopped coming to work. It was stressful because the longer they took, the more rain got into the house. After a few months, they were almost finished, but not before the weather did some damage to the interior.   Thankfully, the damage wasn’t permanent.  It was something that could be fixed.  And lucky Christina got the job.  The floor boards inside the house started to warp at the seams, so we had to rent an industrial sander and sand down all of the seams in the whole house.
 
 
But finally, the roof was finished.


Framing the First Floor and Roof

  So our next step was to frame the first floor. This is one of those jobs that doesn’t get done by us.

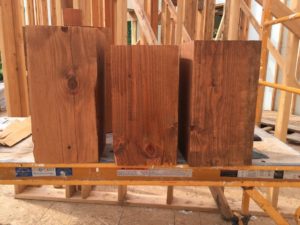
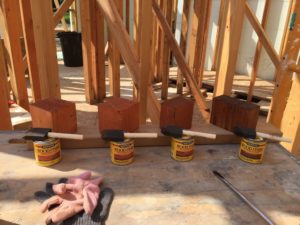
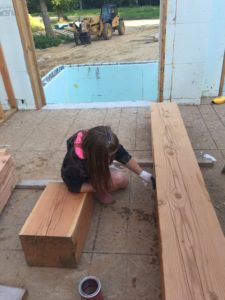
While the framing was getting done, we were able to work on some other projects. We needed to prepare the posts and beams to be installed in the dining room and main entrance. We had to sand, condition, stain and seal them. But first we had to pick the right color. So we stained a few scrap pieces to see what color looked best.

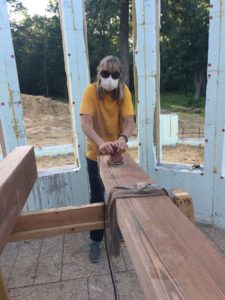
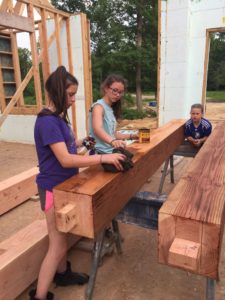
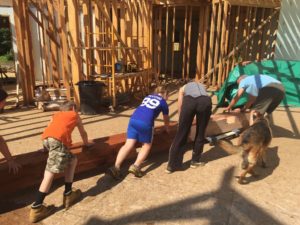
After deciding on a color, we got to work. The first step was to sand the beams.
 Now, each post weighs about 400 pounds, so a couple of us would stain one side, then call people in to help flip it.


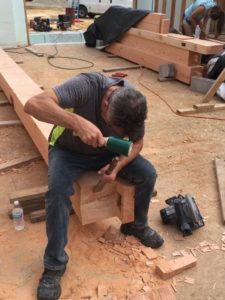
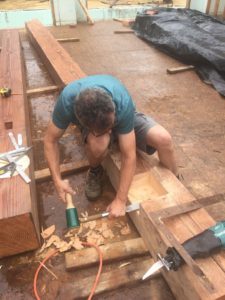
We got a price of $55,000 to do all of the post and beam work, which is why we decided to do it ourselves. This is called timber framing. We bought the beams from a local saw mill. We bought chisels, Japanese saws, mallets and 3000 grit sharpening stones. We had to piece together all of the beams that run across the ceiling with the posts. When they didn’t fit perfectly, Dan would chisel them down a bit here and there, until they were perfect. We fit them together using a mortise and tenon type of joint. In the end, it cost us close to $19,000 to do this ourselves.


 Maria was in charge of keeping the chisels sharp. She literally spent days sharpening them on the sharpening stones.
Then the framers began to install them.

The first floor was really starting to come together.

Building the First Floor

BUILDING THE FIRST FLOOR

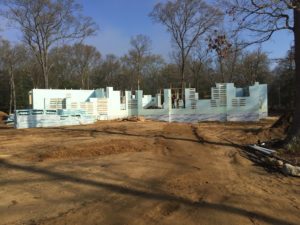
     So now the next step was to build the walls of the first floor.
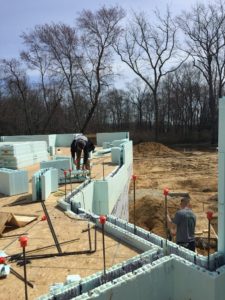
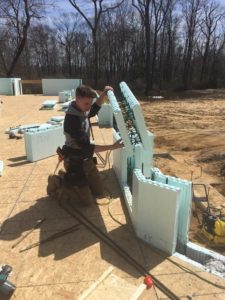
This was done in the same way as the basement walls. We used the
ICF blocks and put them together like Legos, one block at a time.
This time it went much quicker  for us. Probably because we had a little
experience after doing the basement walls.

 
It wasn’t long before the first floor walls were complete.
There are a lot of windows on the first floor, so we had less wall to build.

After those walls were done, we had to put the strapping back on,
just like we did on the basement walls. These add extra support for
when the concrete is poured into the walls. And we used the same pieces of wood as we used in the basement. When we took them off the basement walls, we stacked them in the back yard to be used again.


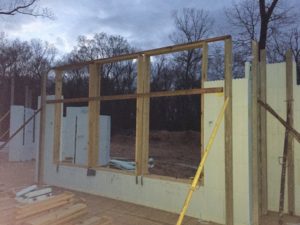
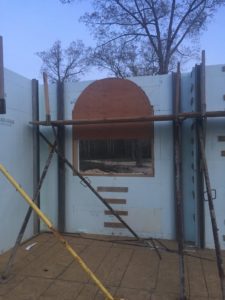
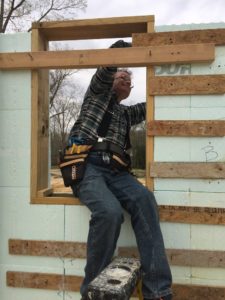
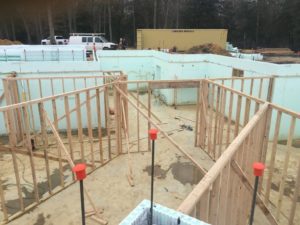
Next we had to frame out the windows and doors.

It was really starting to look like a house now.
Now we had to get the walls completely ready for the concrete pour.
After the strapping was done all around the house, we had to
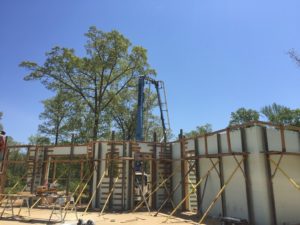
set up the same alignment system as in the basement.
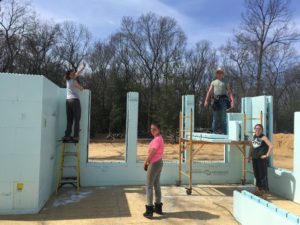
The younger kids carried all of the poles into the house while the
older kids and adults started to install them and the scaffolding system, as well. 
Then we were ready for the pouring of the concrete into the walls.
After 5 truckloads of concrete, we were finished. 

Framing the Basement and Back Filling

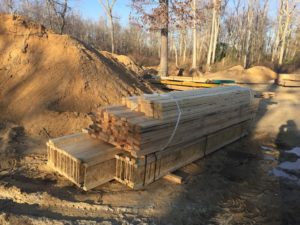
   After allowing the basement floor to completely dry, or cure, the framers could come in and frame out the basement. But first, all of the lumber was delivered.

The next step was for Dan and a few of the kids to frame out the base of the fireplace.  
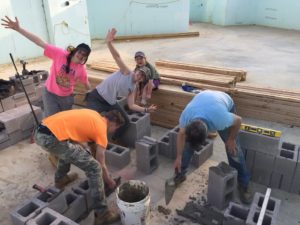
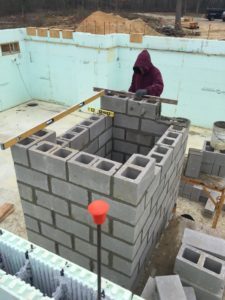
Then the base of the fireplace was built, one cinder block at a time.

After a few days, the fireplace reached the first floor.
While the fireplace was being built, we back filled around the foundation.
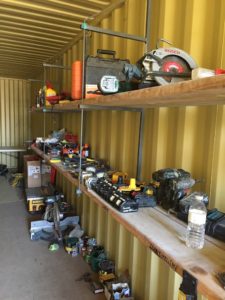
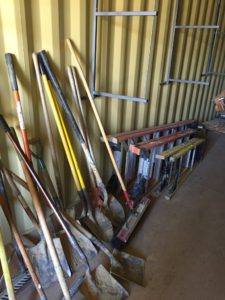
While these jobs were being done, Maria got to clean out the shipping container.
We keep all of our tools in there and it gets messy and unorganized quickly.

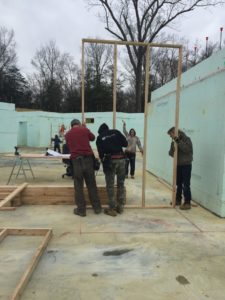
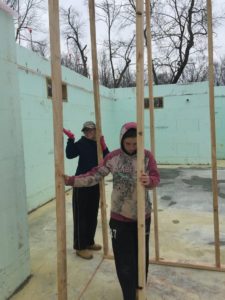
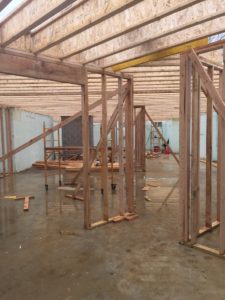
At this point, the framers came in to frame out the different rooms in the basement.

                          And then one day, we had a floor to our house.

Pouring the Basement Walls and Floor

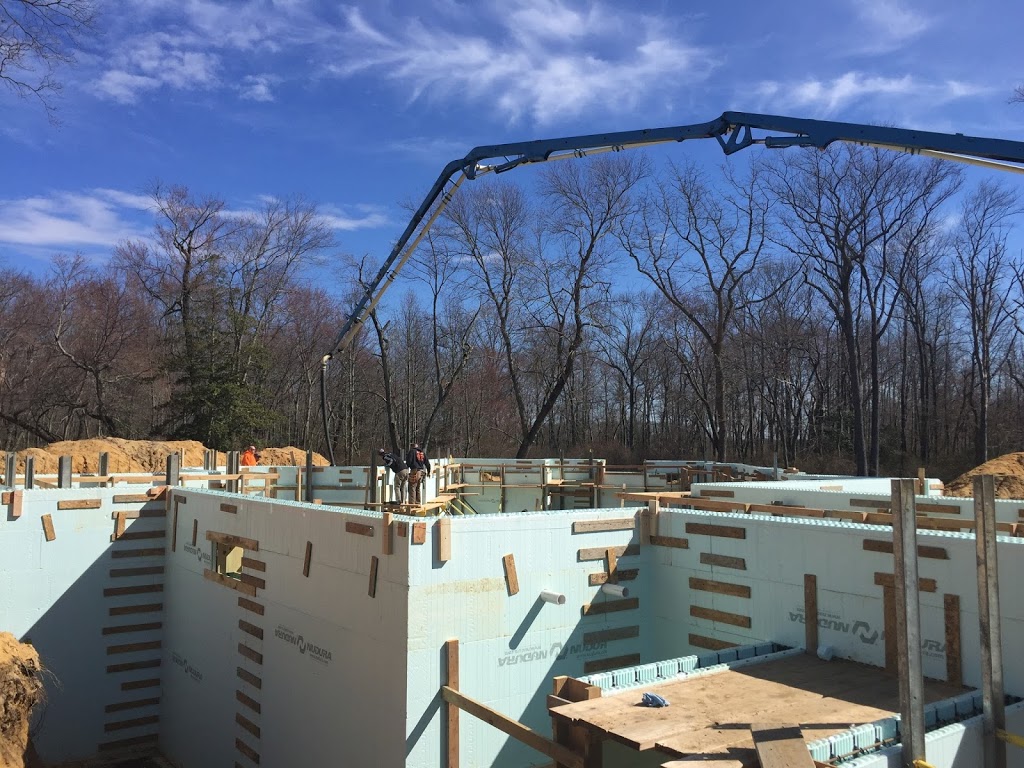
     After all of the prep work was done, it was finally the day to pour the basement walls. The first truck showed up and the pour began.

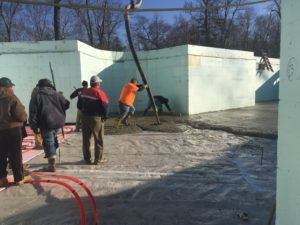
The concrete truck hooks up to the pump truck and pumps the concrete into the walls. There are a couple of guys who guide the arm all around the walls.
Then there are a few guys on the ground in the basement making sure the walls
get completely filled.  There was only 1 major blowout, which means the wall broke open and the concrete came pouring out.
But we patched that up quickly and finished the rest of the walls without any issues. As the walls were being filled, Dan had to go around and make sure they were all plumb. 
If they weren’t, Daniel would tighten, or loosen, the turnbuckle supporting the wall. By the end of the day, we had solid and level basement walls.
The day after the walls were poured, it snowed 4 inches. So we had to wait until
it all melted before we could get back in there to work. Once the snow was melted, we removed the strapping and stacked it neatly in the backyard to be used for the 1st floor. Then we removed all of the scaffolding and bracing system
and saved that for the 1st floor, also.
The next step was to apply the waterproofing all around the outside perimeter of the house. These are like giant pieces of very sticky tape. They will help keep any moisture out of the basement in the future. 
We almost finished this task when we got another 8 inches of snow on the first day of spring. This winter has been 
crazy, we are hoping spring weather comes soon. But while we were waiting for the snow to melt so we could get back to work, we hit the slopes!
After all of the snow melted, we started to prep the basement floor for concrete.
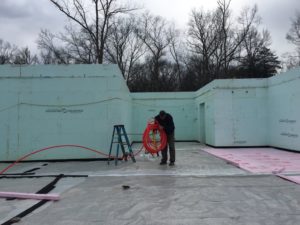
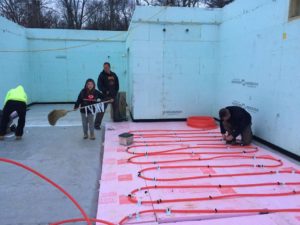
We covered the floor with sheets of plastic to keep moisture out. Then we laid
down sheets of foam and the pipes for the heated floor in Dans workshop. 
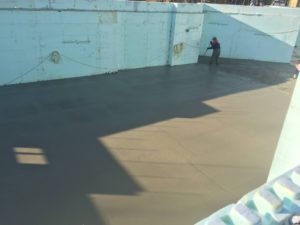
Then the concrete guys came and poured the floor.
Finally, the basement pour was finished.

Building the Basement Walls

    Now that the footings were done, we could start on the basement walls.
These walls are something new to our area.  Its called ICF, which is short for insulated concrete forms.  They are like giant Lego blocks made of styrofoam. And you put them together just like Legos, all while making sure they are straight and level. We don’t want a crooked house.
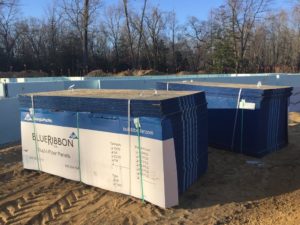
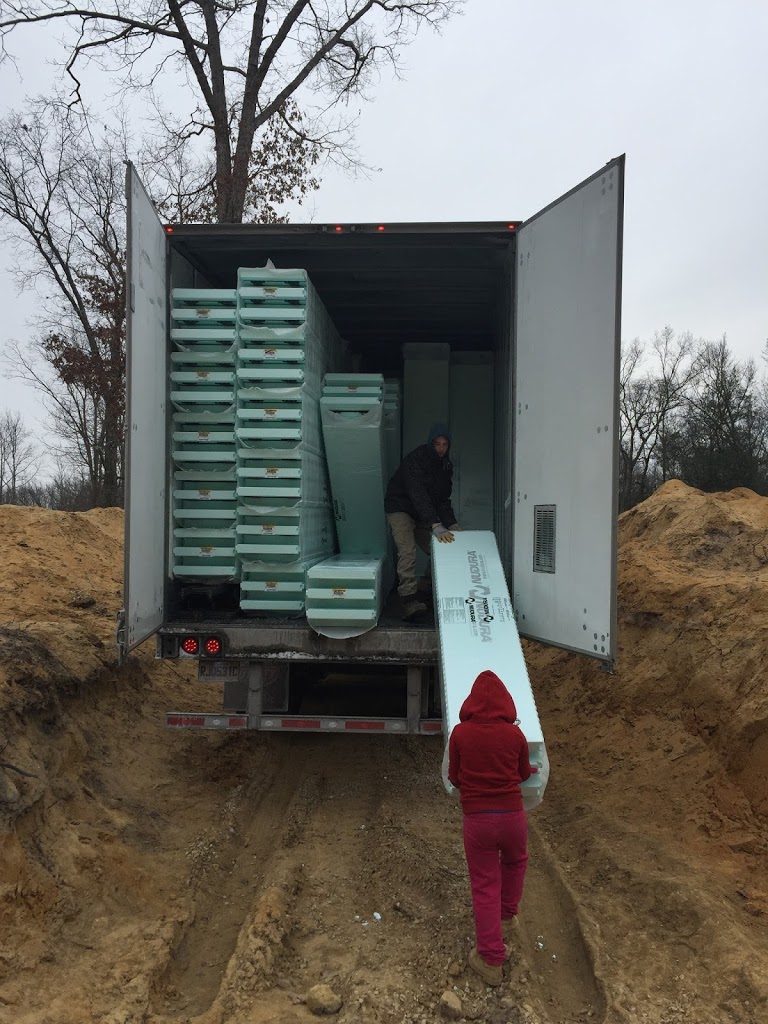
A big tractor trailer came from Canada filled with the forms.

And we got to unload it all ourselves. The driver of the truck borrowed Dans truck and went to the store to use the restroom. Then he came back and watched us unload the rest of the truck while he took pictures of us. He was quite
amused.

Each layer of wall is called a course.  Over the weekend of January 20-21,
we had the first 2 courses up.  On January 22, Dan, Daniel, Joseph and Dans good friend, Jack had another course and a half up.

    At this point, construction is now visible from the street. We have made it
above ground.  There are 7 courses to the basement walls, so over the next month, we finish those and get them ready for concrete.

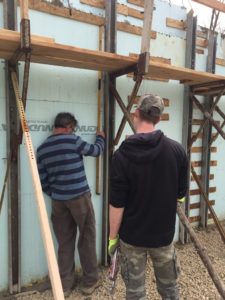
  Once the walls are placed together, one on top of another, they will be complete basement walls.  The styrofoam is the insulation and the plastic webbing between the styrofoam becomes the studs. Here’s a picture of the studs, including the one
in the blue shirt.

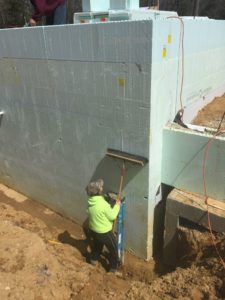
But before we pour the concrete inside the ICF forms, we need to place clips inside to hold the corner pieces together with the block next to it. Every other course is reinforced with horizontal rebar and leveled. As we got to the 4th and 5th course, we needed to set up an alignment system, which also acts as scaffolding, so we could reach the walls and keep building. This system also
adds extra support to the walls as we work.

Lunch Time!!!
Oh how perfect..look who shows up in time for lunch…
Their timing is impeccable.
This winter has had some crazy weather that threw us off schedule now
and then. Dan and I went away for a week and when we came back the       basement was flooded. We had a weekend of heavy rain.
So that set us back a bit. We had to pump all of the water out, so we could get
back in there to work. 
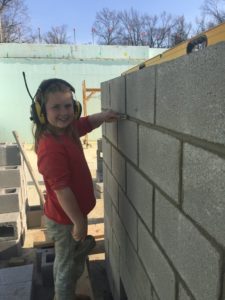
Once all 7 courses were done, clipped and leveled, we added strapping to         the seams for added support for when the concrete is poured.

             Maria and Christina were two of the main strap installers.

Joanna was the official strap cutter today.
Juliana built 30-40 spacers for part of the alignment system. And she did it
in less than an hour.
Now the entire basement is ready for the concrete to be
 poured into the walls.
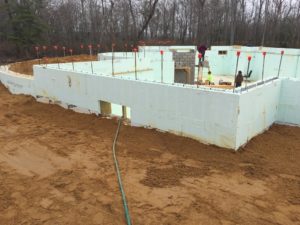
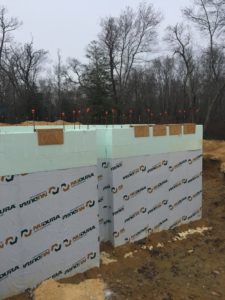
This is the view from the back of the house. 
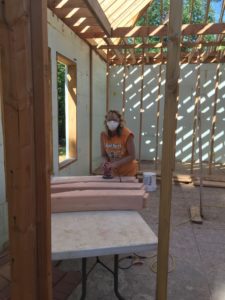
BUILDING THE FOOTINGS

                         What are footings?
     Footings are an important part of foundation construction. They are
usually made of concrete with rebar reinforcement that has been poured
into a trench of some sort. The purpose of the footings is to support the foundation and to prevent settling.
The first thing we had to do was to build the wooden frames of the footings.

Once we had that done around the perimeter of the house, we had to 
make sure it was all level. That was Maria’s job.
That’s Maria in the back, the level is attached to the 1 X 4 that
 she is holding. It beeps and lets her know if the footing needs to go up
 or down, or if it is level.
The next step was to line all of the footings with plastic. This isn’t always
done, but we wanted to take every precaution we could to keep any moisture out.
        
Then we installed rebar.
Next we poured stone on top of landscaping cloth on the outside of the footings.
Maria went all around again and made sure everything was still level.
Everything was all set for the concrete. Except the weather! We got 4
inches of snow in the footings which we covered in plastic to keep out any 
moisture.  So then I had to go aroung the entire perimeter and vacuum out
all of the melted snow so we could pour the concrete.
Now we were ready for concrete.

Apparently when the concrete is being poured, it splatters a lot.

After the concrete was poured we had to level it all up and add more rebar.
We were working against the clock here because the temperature was dropping by the hour. Then we let the concrete cure for 24-48 hours.
We finished just in time for another storm.

After everything was dry and set, we began to remove all of the wood from the footing frames. We can’t have any wood under the house because of termites.
Then more stone was added to the middle of the basement so that we are  completely above the water line and out of the mud. We are now walking on stone, not mud.

The next step will be to build the basement walls.

Batter Boards and Cute Helpers

Building the Batter Boards

    Batter boards are temporary wooden frameworks used to suspend the layout strings for a foundation. Once they are built, the batter boards resemble hurdles.
Their placement is crucial to building a foundation exactly as the plans specify, and certain elements of their construction must be exact.

The batter boards are used throughout construction as a reference for the foundation. So after building these, we weren’t too happy to find them in the basement, along with the picnic table and some extra lumber…thanks to a mischief night prank.

So after putting them back together and back where they belong, we got the final approval from the man in charge.
During this process, we’ve had many little helpers come to assist us.


.


Breaking Ground

October 28, 2017

BREAKING GROUND!!!

    Today was the day we finally broke ground. Around 8am the ecavator showed up on the back of a trailer. The driver took one look at the property and decided that he was not driving up on to it. He said the trailer was going to get stuck. We told him we had machines here before and never had a problem, but he didn’t want to take a chance, so he left…with the excavator. Luckily we called another company and they were able to bring a machine right out, and they had no problem at all driving onto the property.
     Dans brother Mark ran the excavator. Dan and Daniel were on the ground directing him as to where to dig and how deep.

They moved about 1000 yards of dirt over 2 days.
By the end of the weekend, the basement was pretty much dug.
Not to mention the amazing piles of dirt for the kids to play on.
After digging to the depth that was specified by the engineer, we hit water.
The next day when we got there, we saw a lot of water.
We weren’t sure if we hit the water table or not, so we dug some test holes to find out. Sure enough, we hit the water table.  And this began a month long delay for us. We started by buying pumps to get rid of the water. We pumped everything to the side of the property. We dug a trench to get rid of some water, but that didn’t work. We got a generator and some battery operated sump pumps that would turn on when the water reached a certain level. The first one broke, so we got another one. That one worked. We had to go over a few times a day to check on the pumps, and make sure the generator didn’t get stolen. 
The goal was to get above the water table, so the next step was to get stone.
So we ordered almost 100 ton, and using the skid steer we started to spread it around, filling in the deepest sections of water.  
One of the most amazing things during this ordeal was the amount of mud that we were working in. There were areas that we had to avoid because we would sink down to our knees and it was very difficult to get out. The kids were muddy,  the cars were muddy. We even brought mud home with us. This is what the tub looked like after Joseph took a bath:
This entire ordeal set us back about a month and almost $10,000….all because of a mis-calculation on the part of the engineer.

August 12,   2017

    After purchasing the saw mill, we began to mill wood right away.  We started with some of the
many trees that we had cut down in the beginning of the summer. The first ones we cut were
10′ long 6 x 6 beams.  They will probably be used later for a lean-to for the drying wood.
After we mill the wood it has to dry for ideally 1 year. But our wood has already been outside for quite some time, so it just needs to acclimate to the climate.
    Dan and Daniel built a base to lay all of the wood on to completely dry out and acclimate.

Once the base was completely level, which was not as easy to do as it sounds, we could begin stacking the cut wood.

So we continued to mill the wood and carry it over to the stack.

We were originally milling sweet gum trees. Dan also wanted to use western red cedar for our house.  He found that beams made of western red cedar were pretty expensive, and the amount of beams we needed for the house would run us about $15,000.00 . So he needed to go to plan B.  After doing some research, he learned that telephone poles were usually made of western red cedar. So he searched on Craigslist and found a guy named Mike who had a bunch of poles for sale.
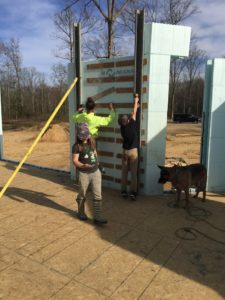
Mike
So Dan and Daniel went to visit Mike and found that he had over a hundred telephone poles and he wanted $50.00 for each one. WOW. That’s a big difference in price.  That was a major reason that Dan wanted to buy a saw mill in the first place and do it himself. He knew it would be so much more economical.
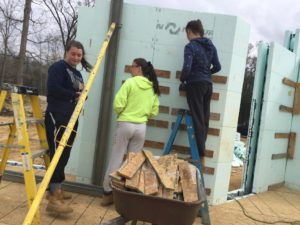
So, they made many trips back and forth to Mike’s house and before we knew it, we were milling telephone poles.
The poles were each between 21′ and 34′ long.  So after getting them to our property by trailer, we would drag them by truck over to the saw mill.  Then we would roll the pole over to where the mill could pick it up.
 Once the pole was on the mill, Christina would run the metal detector over the entire pole before Dan began cutting.  If he cut into any metal, it would wreck the saw blade. 

We pulled out many nails, staples, screws, and even bullets.


Bullets
After the pole was free of metal, Dan would start cutting it to the size he needed. Then we would carry it over to the pile to dry out.